|
In today's class, we learned how to edit the corners of shapes to make them as round or sharp as we wanted using Gravit. The higher numerals in the corner setting make a more circular shape, which the lower numerals have a more sharp-cornered shape. I practiced this with squares, triangles, polygons, and stars. After, I created two shapes and copied and pasted them. I used the four different merging tools: union, subtract, intersect, and difference. 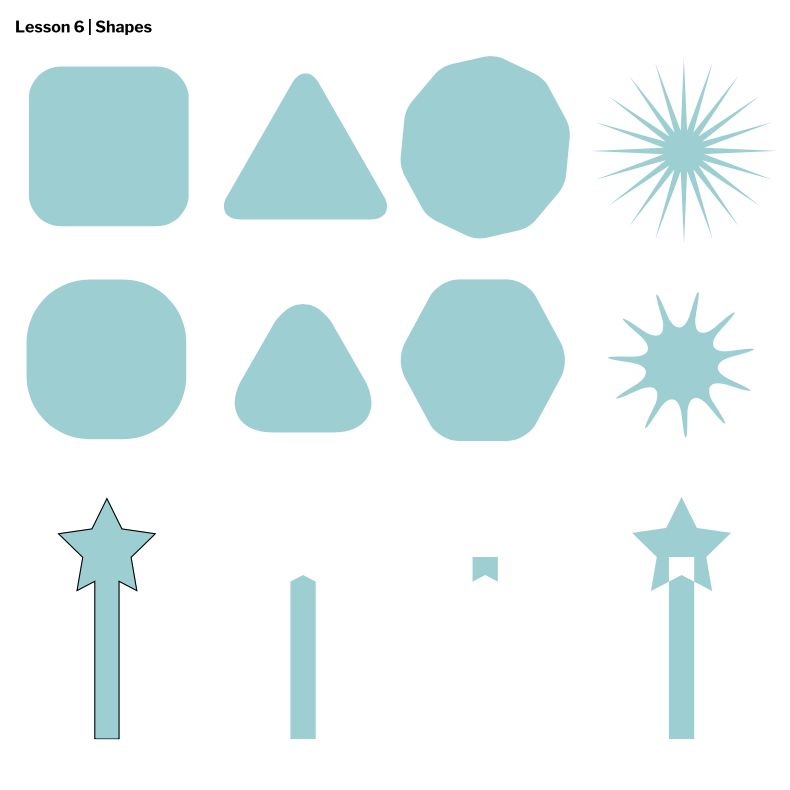
0 Comments
Today, we learned how to use layers and groups in Gravit. Layering was helpful in the sense that I could easily control which shapes I wanted to be in front of others, which was something I already knew a little bit about from using Google Slides. Grouping made the left-hand sidebar more organized, as we could see all the elements but in certain categories with other elements. Aligning made everything exact and parallel to edges or the center of a page. 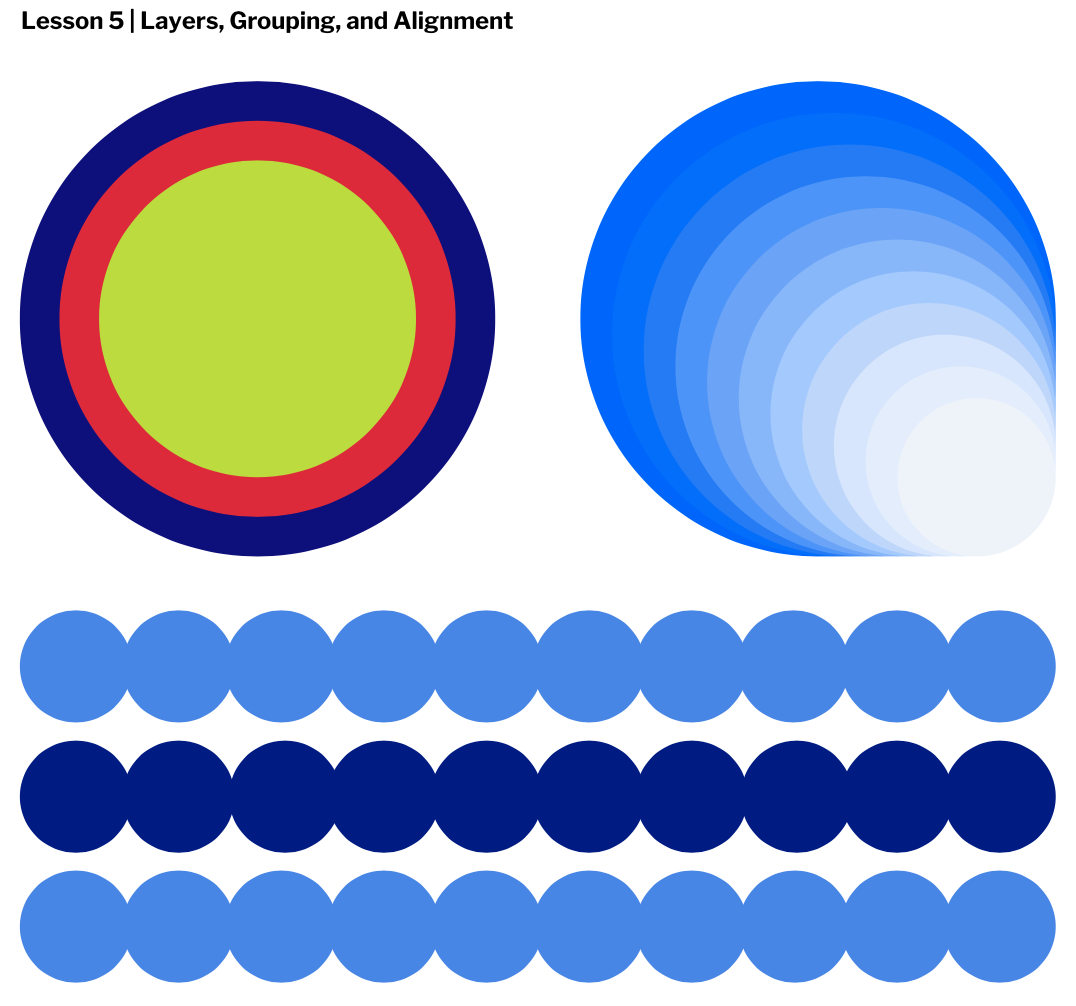 Today, we learned how to fill and border shapes in Gravit. "Fill" is to change the color or opacity of the shape. "Border" is when we apply a border that surrounds the shape with a certain color of your choice and thickness. The borders can be dashed, and a border can even be applied and made invisible. I used the fill tool to make my shapes different shades of blue, and I used the border tool to make black borders around my shapes.  |
AuthorHi, I'm Hannah. I'm writing a blog for Technology Class. Archives
May 2021
 This work is licensed under a Creative Commons Attribution-NonCommercial-NoDerivatives 4.0 International License. |
 RSS Feed
