|
Today, we used the same program, Gravit, to create various different geometrical shapes. Since I had previous experience from the last assignment, using Gravit was easier today than it was last class. There were different pointers to use to create and edit different shapes. We learned all of the keyboard shortcuts and tools. For example, pressing shift while creating shapes will give you more control to create a more exact shape. 
0 Comments
In this class, we used gravit.io to learn how to make different sized pages. Custom colors and text boxes could be applied to this pages, and we learned just how to create those things. We created a custom page, a standard A4 page, an A3 landscape page, and a blog cover page. These pages had different dimensions, either in pixels or millimeters, but there were other measurements to choose from. There were ways to center elements, or make them sit on the right or the left. At first Gravit was a little difficult to figure out, but after I had some experience, it was easy and fun to use. 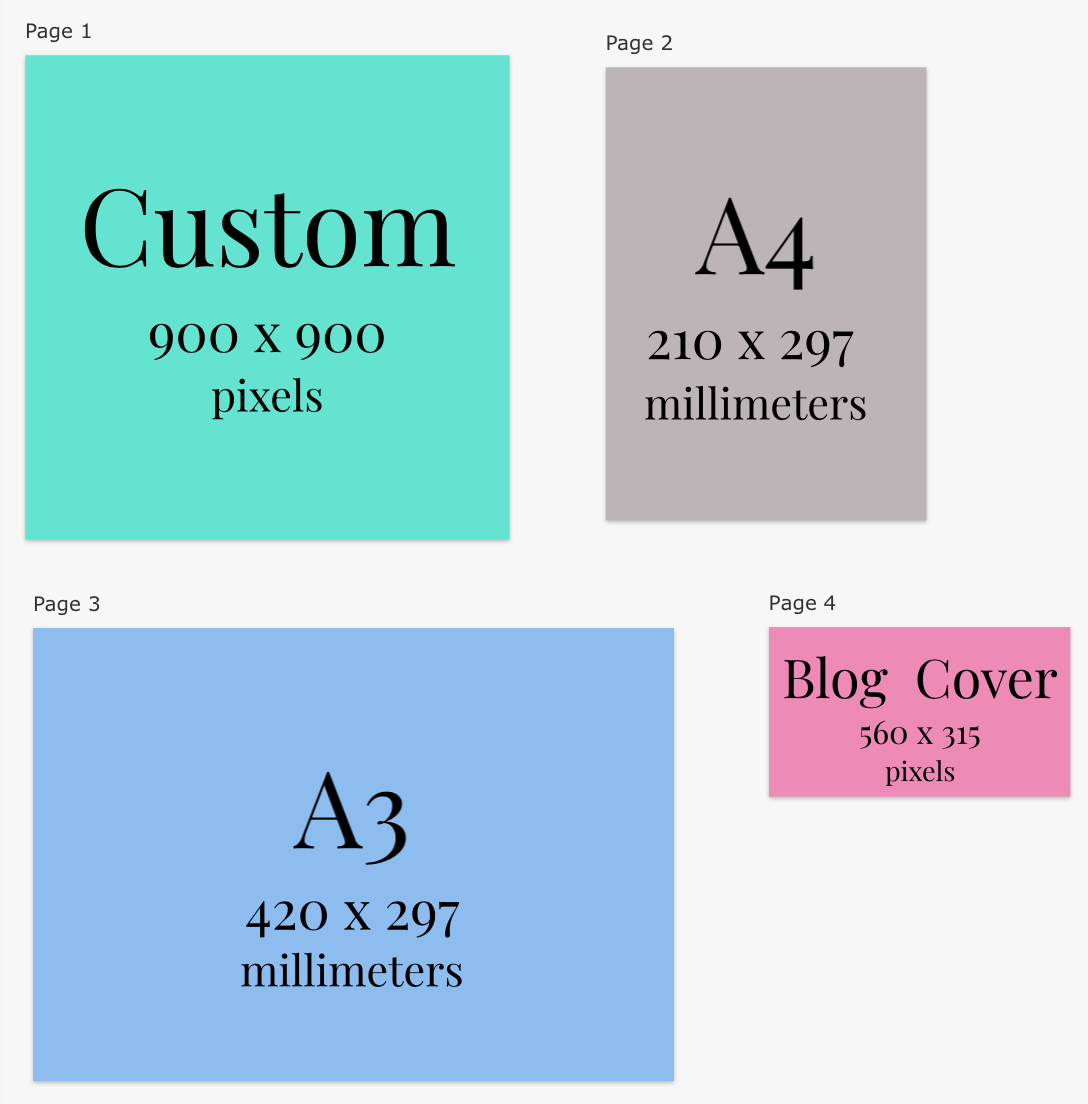 This technology class, I learned how to use code to create various different shapes that assembled a picture. I used my shapes to create the image of an owl. I used a "fill" code to color my shapes. Different components in the shapes let me move the shapes, change their angles, and modify their positions. I used KhanAcademy tutorials to help me better understand how to draw with code (feel free to try them yourself!). I learned more about how using certain commands when coding shapes was more closely related to math than I thought, specifically, geometry. Everything that was on used for the drawing was on the first quadrant of a coordinate plane, which made it easier for me to understand how to get the code to draw shapes where I wanted them to be. 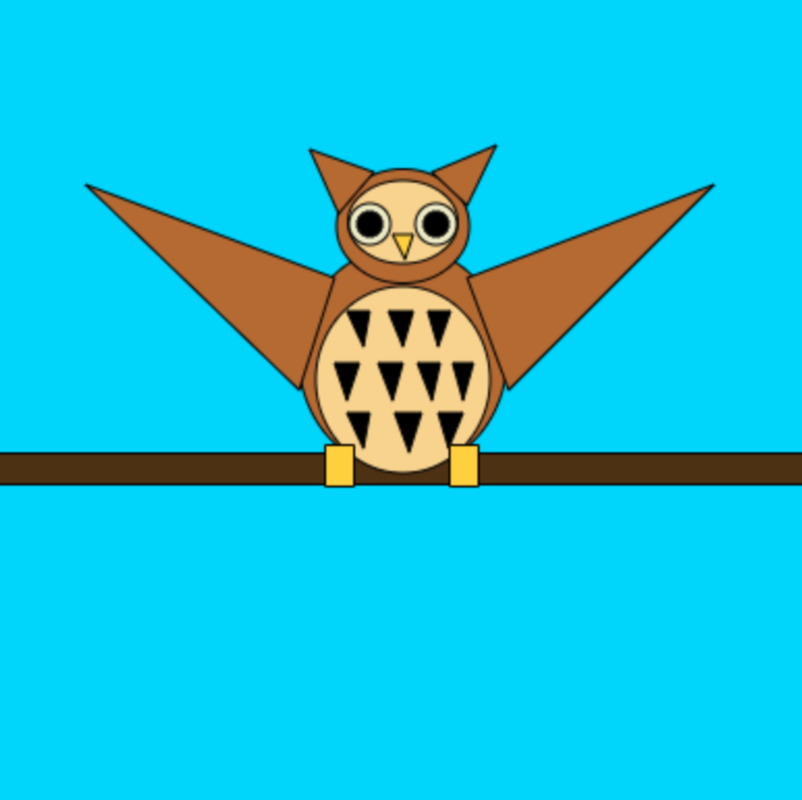 |
AuthorHi, I'm Hannah. I'm writing a blog for Technology Class. Archives
May 2021
 This work is licensed under a Creative Commons Attribution-NonCommercial-NoDerivatives 4.0 International License. |
 RSS Feed
